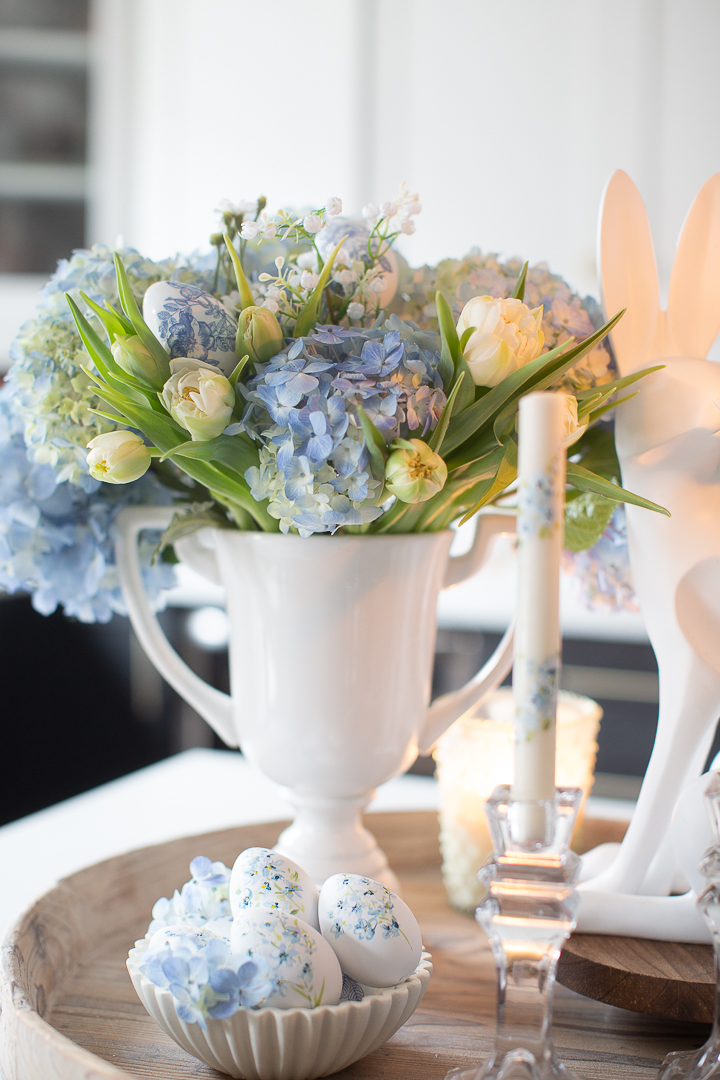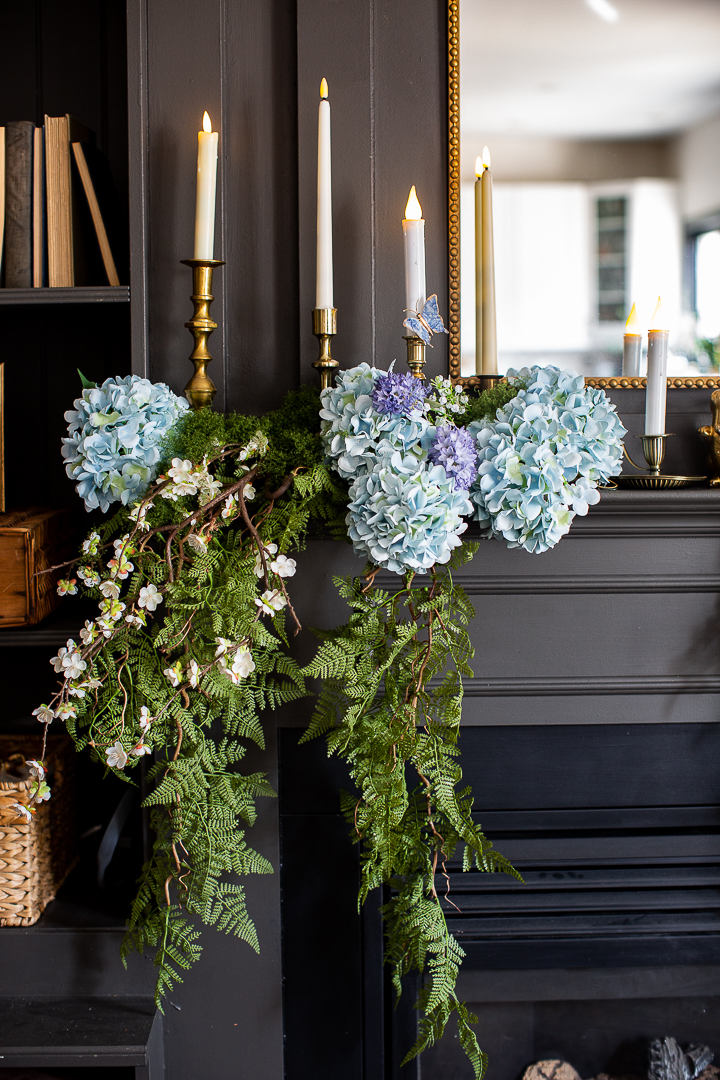
Blue Hydrangea Spring Mantel Decor
![]()
Hello friends. I hope you’ve been keeping well. It’s been a little while since I posted. I’m not even sure if anyone is reading this blog anymore but regardless, here is a pretty Spring Mantel I put together a couple of weeks ago.
![]()
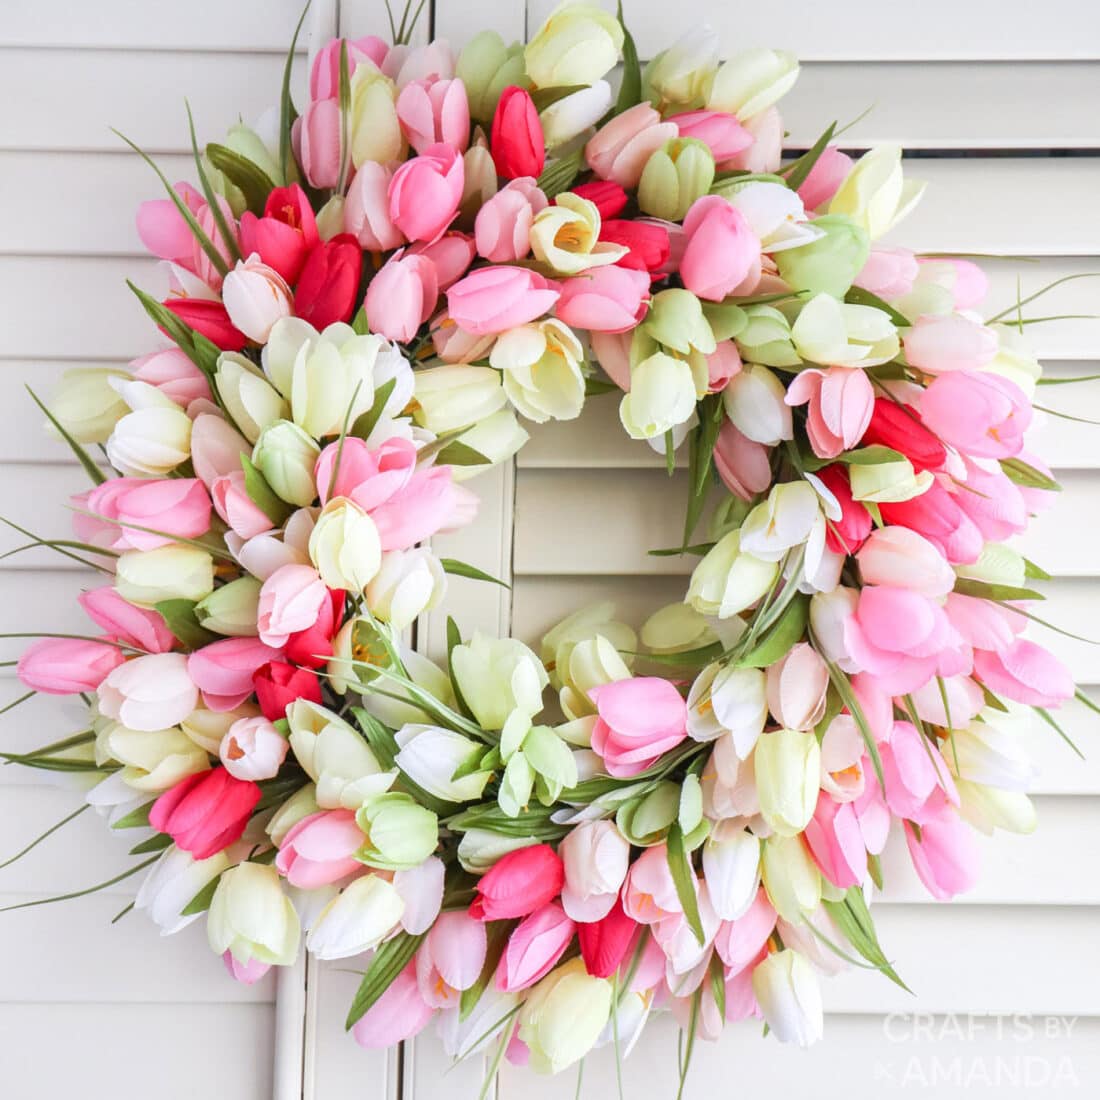
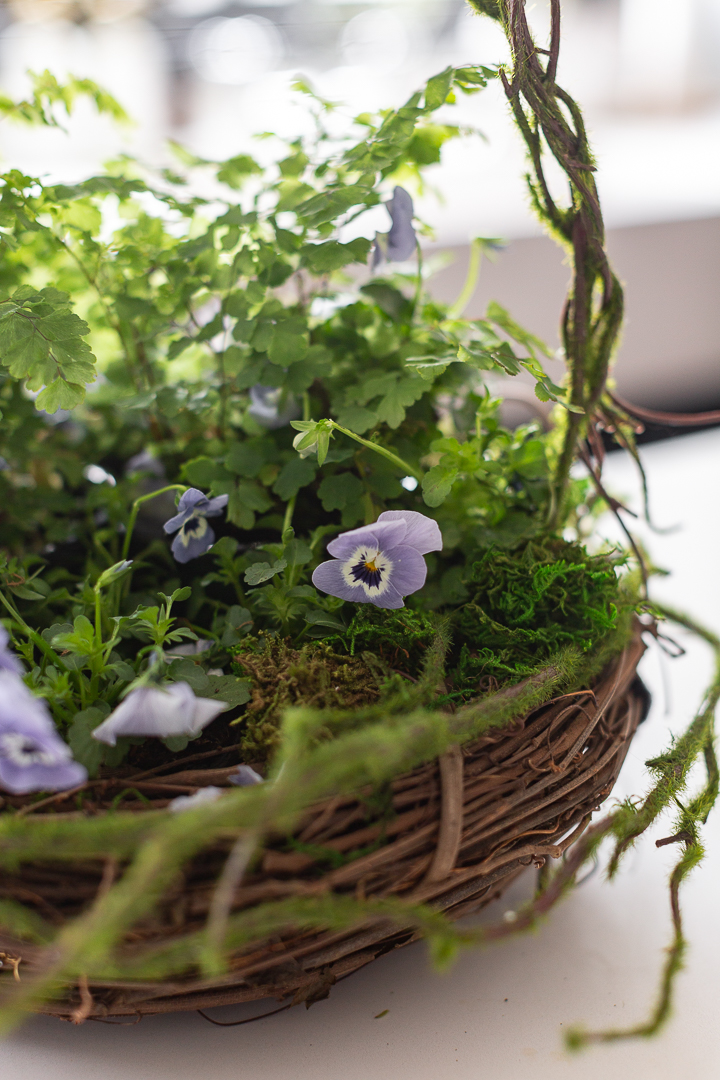
I used blue hydrangeas and these beautiful ferns. I bought these to make wreaths for our front doors and will still be using them…
![]()
But I just started to play with them on the mantel and thing led to the other and here we are.
![]()
It’s fun to play with decor and just see what turns out.
![]()
As usual, I took a lot of photos. I just enjoy taking photos and editing them.
![]()
I remember the good old days when photos and pretty pictures brought me so much joy. Nowadays, it seems like fast video is the thing,
![]()
![]()
![]()
Don’t get me wrong, I also enjoy creating videos but I miss the old blogging days so much.
![]()
![]()
![]() Anyway, I hope you’re keeping well and hope to see you again soon.
Anyway, I hope you’re keeping well and hope to see you again soon.
much love,
Lucy